Where is local journalism?

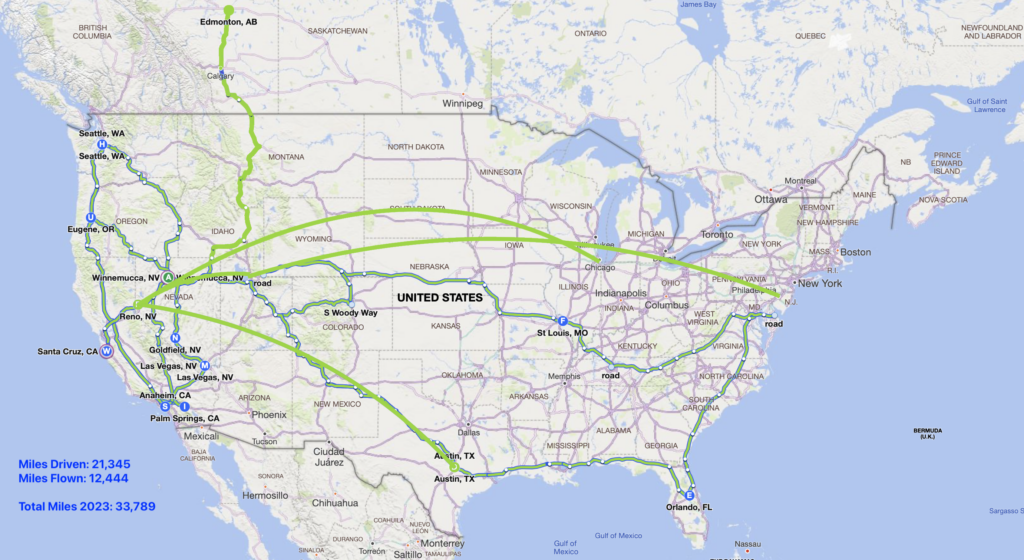
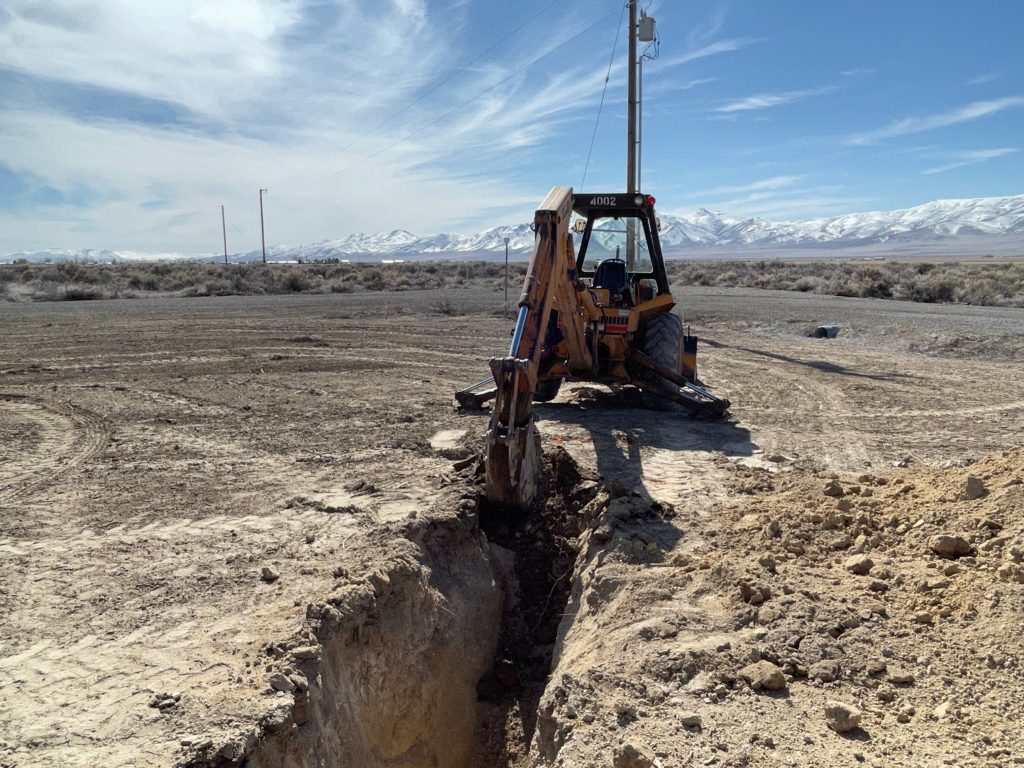
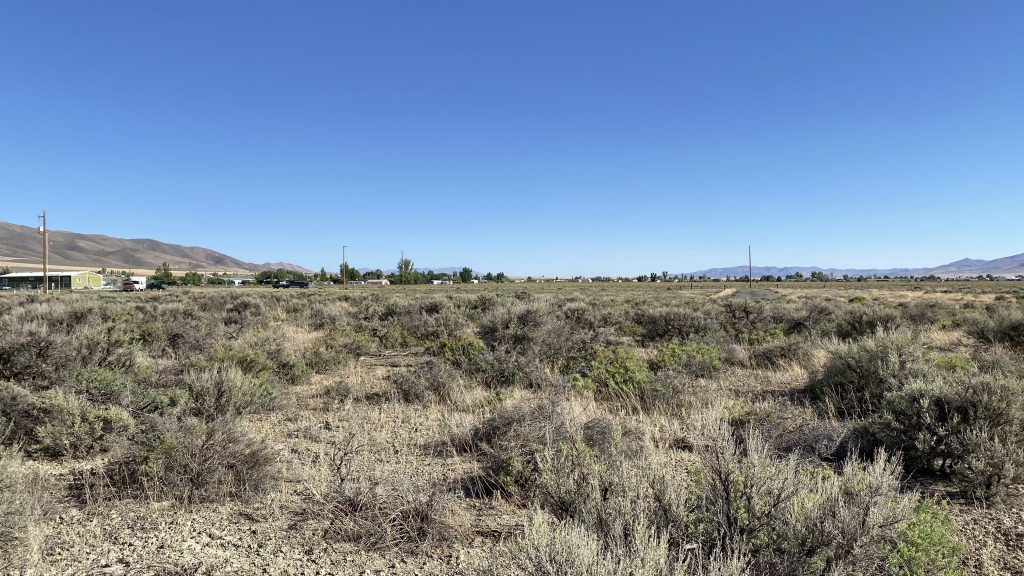
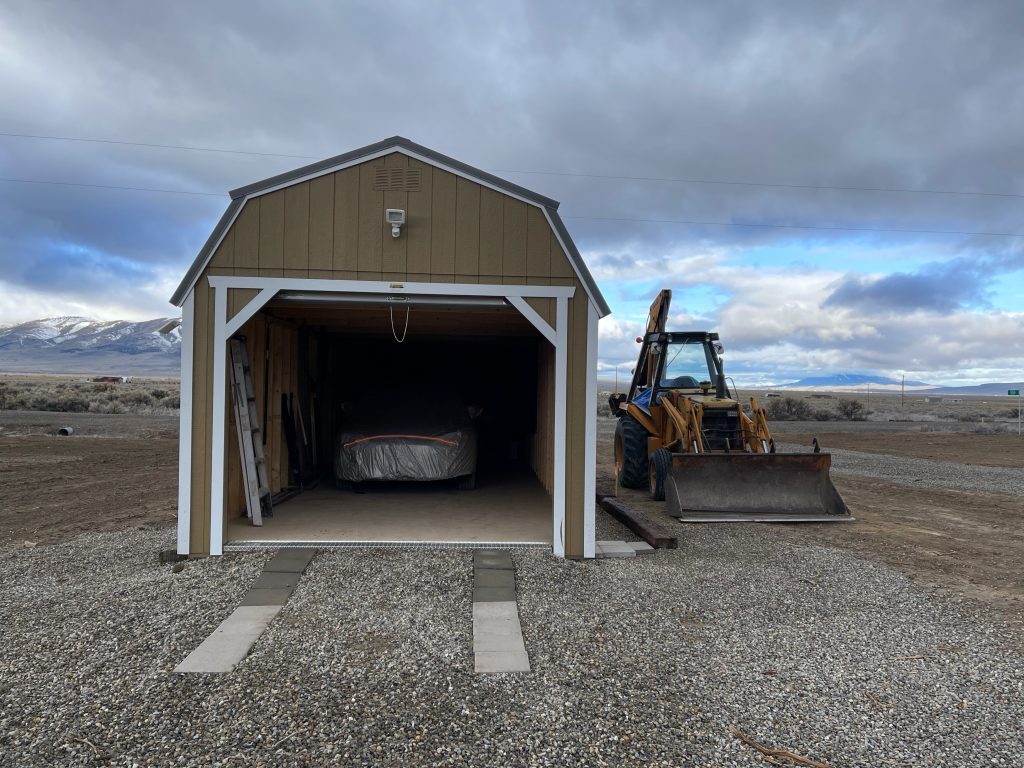
I live in unincorporated Pershing County Nevada, there are less than a thousand people in my part of the county. The closest town is one county over, about ten miles from my house, and has a population of just over eight thousand people. Over the last two years my husband and I have noticed an increase in businesses closing or relocating. The one barber shop in town specializing in men’s haircuts closed because the old dude who cut hair died on a fishing trip. The Chrysler, Dodge, RAM dealership closed because the shop manager had a heart attack on the toilet, coupled with the owner doing questionable accounting practices – without the shop bringing in real income the business failed. The Pizza Hut in town was there one day, the next day it was closed, and a month later the building was gone. A furniture store we would drive by every time we went into town moved to a smaller location. The largest HVAC company in town also moved to a smaller location. A tire repair shop that had been in the same location since Jesus wore sandals closed due to the owners not wanting to deal with a bomb threat and an actual bomb found on their property. All of this in the last year or so…Next month, the one package receiving location – think UPS Store that is not a UPS Store – is closing shop. There is no longer a FedEx depot in town and the UPS location has no customer facing storefront (they had one that was open for exactly one hour a day two years ago, but it closed).

But there is more. Businesses are not open as they were in the past. The BBQ joint that was open six days a week when we moved to town (closed on Sundays) is now only open on five days a week and reduced hours three of those days. The restaurant in one of the three casinos in town used to be open seven days a week is now only open five, and only for dinner on two of those five days. One of the other two casinos has had their restaurant closed since last December for repair/remodel – they were scheduled to open for Valentine’s Day, they did not. The chicken wing bar on the eastern side of town which was open until one AM when we used to stay at the adjoining RV Park, is only open six days a week and doesn’t open until noon on Sundays, closes at ten during the week and eleven on weekends. The three grocery stores are on reduced hours, the twenty-four-hour Walmart isn’t, and the three fast food places along the truck stop are reduced hours. The once multi-location U-Haul shop is a shell of its former glory and everywhere you look self-storage facilities are going up.

The town lost about ten percent of its population since the start of the pandemic and I’m sure we will learn it’s more than that during the next census. I will not say that the town is slowly dying, but it sure looks like the town is shrinking. And that’s not why I’m writing today. The main reason I pulled out the computer to type was a thought that has been going through my head for the last few weeks. Local journalism is dead.

Remember that tire repair shop in the first paragraph? The one with the live bomb found in their facility. Yeah – that’s what got me writing. You see, there was no news coverage of the story. There are no articles that I can link you to definitively stating that the owners closed shop because of a bomb found in their store. Sure, if you check the local police blotter for the right night you can confirm what the locals at the bar told you the night before, but you have to do the leg work. Let me set the stage…
My spouse and I were sitting at the casino enjoying a beer catching up with the staff and regulars. We had been out of town for three months avoiding the coldest part of winter. The kitchen was still closed (it closed before we left). The bartender who had said the night we were leaving was to be her last night was still there and the regular bar flies were enjoying their regular drinks.

As the night wore on the subject of employment came up and my husband remarked that the tire store was always hiring and that the person he was chatting with could always go work there. Everyone behind the bar and the rest of the people in the room all went white and we were informed that the tire shop had closed while we were gone. One of the staff told us about the bomb threat and that the bomb was found and exploded safely by the SWAT team in the large parking lot next door.

None of this was in any of the local or regional newspapers. In fact, as far as I know, my account of the story is the only telling on the internet.

We don’t have local news. You have a business that is issued a bomb threat and it’s found to be true, and the bomb located and exploded, and there is no news story? What gives? I’m working on confirming what I was told at the bar with my local sheriff’s deputy who happens to be on the SWAT team. Based on what he tells me, I’ll update this article.

Someone who commits a crime in Reno, two and a half hours away and flees to my town and is caught makes the news, but a tire store that has been in town since the dawn of time closes due to a bomb gets no mention.

When I worked in Watertown, Massachusetts my employer’s office was bombed, except the bomber didn’t know that we had moved up one floor and tossed his bomb into someone else’s laboratory. It was a stem cell research lab . The local news (this was 2004 when we still had local news) was there and, incorrectly, assumed the bomb had something to do with stem cell research. But they dug deeper and found the bomber to be the same person who tried to burn down my employer’s lab three years prior. They learned that he had just gotten out of prison for the fire weeks before he tossed the bomb… Where is that kind of reporting for the tire shop?

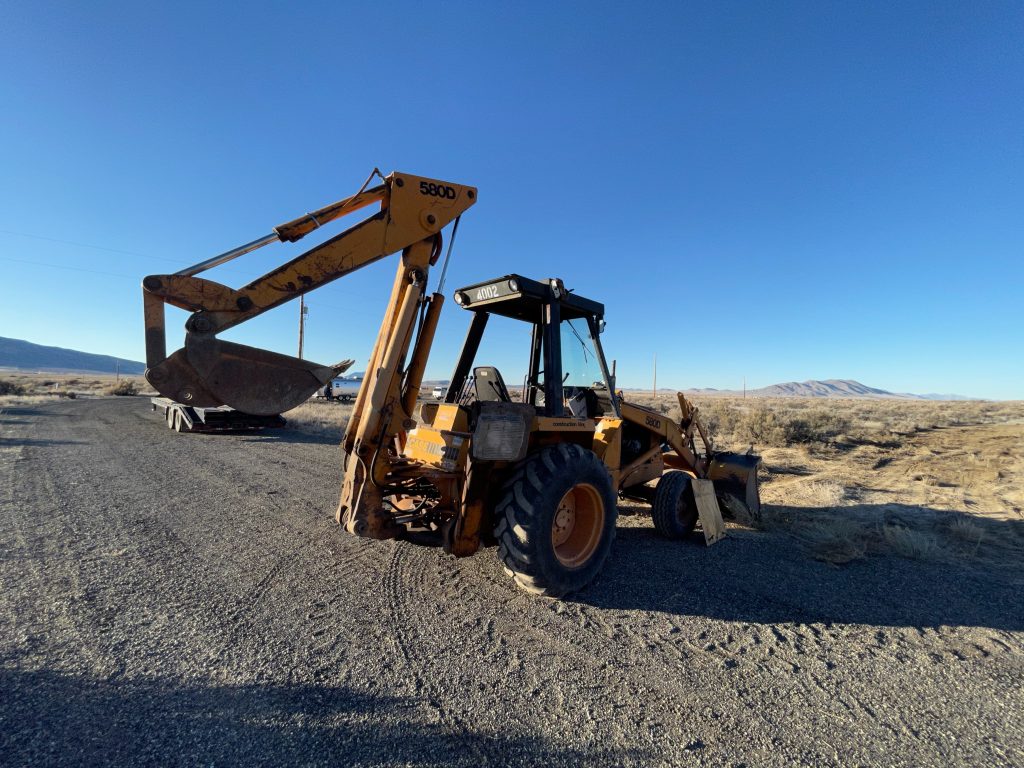
The tire shop that installed the tires on my backhoe…
The tire shop that installed the tires on my Airstream…
The tire shop that installed the tires on my trucks…
The tire shop that my neighbor recommended I do business with…

My tire shop.

Where is reporting on what happened to my tire shop?

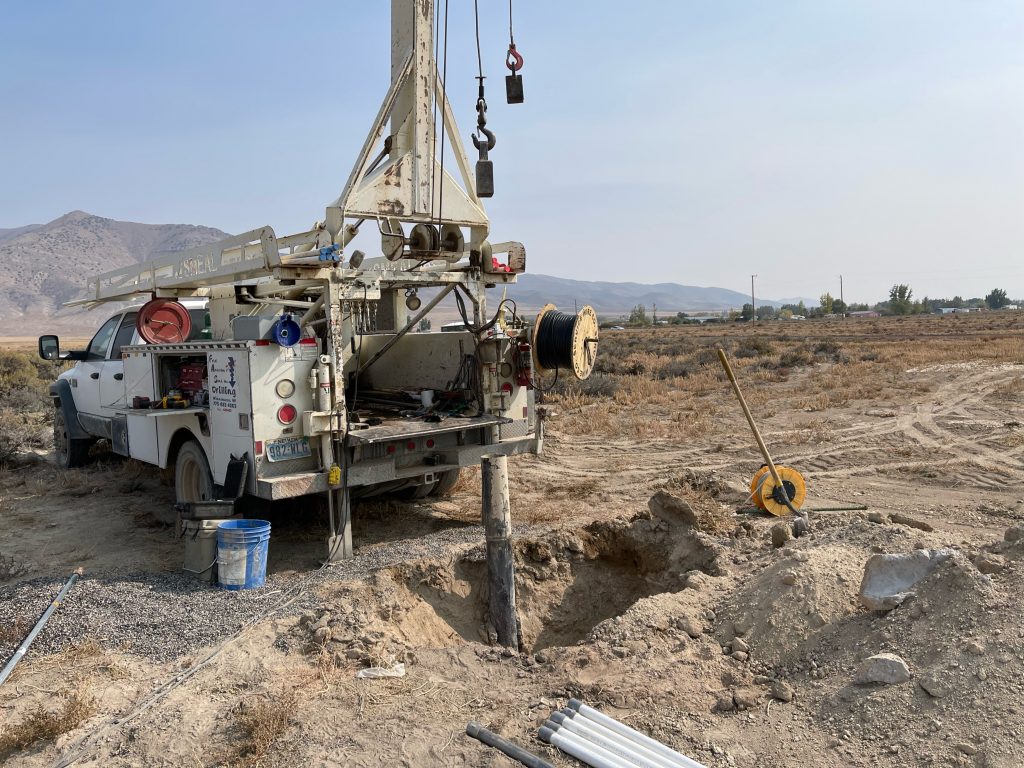
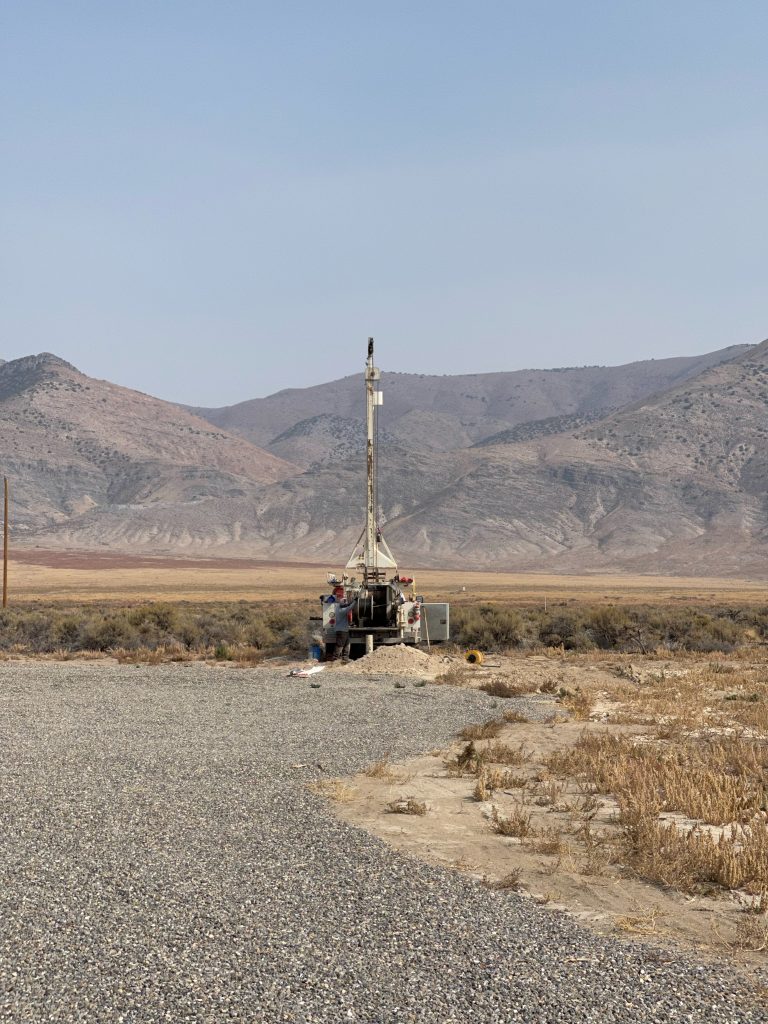
EDIT: A few days after typing this post I learned that one of two water well drilling companies went out of business as the owner, 85 years old and working every day, passed away back in December. So yeah, the shrink continues.

When you camp, you often have to deal with your own shit…

Maintaining recreational vehicle (RV) holding tanks is crucial for a pleasant and trouble-free camping experience. Proper care helps prevent odors, leaks, and other issues. Here are some best practices to maintain RV holding tanks:

  • Use RV-friendly toilet paper: Choose toilet paper specifically designed for RVs to prevent clogs and ensure easier breakdown in the tank. We use Scott Rapid-Dissolving Toilet Paper as it claims to be sustainable and septic-safe. This is also the same toilet paper we use at home.
  • Dump tanks regularly: Empty both the black (toilet waste) and gray (sink/shower water) tanks regularly to prevent buildup and odors. Don’t allow tanks to overfill. It’s a good practice to let the tanks fill to at least 50 to 75% before emptying to get a solid-moving flow rate when emptying. As our holding tanks are relatively small compared to larger rigs, we empty the grey daily when possible and the black weekly (minimum).
  • Flush tanks thoroughly: At least once a month we like to flush the tanks with water. After dumping, flush the tanks with plenty of water to remove any remaining waste. You will want to use a dedicated hose for this purpose separate from your freshwater house. Our Airstream, like many, include a black tank flushing system. We run a separate, orange, hose fitted with a one-way valve to this clean out port and flush the black tank using this port at least monthly.
  • Add tank treatments: Use RV-friendly tank treatments or chemicals to help break down waste and control odors. Follow the manufacturer’s recommendations for usage. Along the same line of thinking we use household liquid dish soap regularly in the grey tank to break down oils and any solids that may accumulate on the sidewalls of the tank. Typically, we will fill the grey tank to ¼ full and add one cup of liquid dish soap diluted in 1 gallon water to the grey tank before departing to our campsite. This allows the motion of the drive to circulate the dish soap around the entire tank, suspending all the solids in the cleaning solution. We then dump said tank before setting up camp.
  • Maintain proper tank levels: Keep a balance between black and gray tank levels. Empty black before grey on days where both tanks need to be emptied. We defiantly allow the gray water to fill up before dumping the black tank, as the soapy gray water can help clean the sewer dump hose. 
  • Use tank cleaning products: Periodically use tank cleaning products or tank cleaning wands  (if your black tank does not have a flush system) to remove deposits and buildup on the tank walls. Follow the product instructions for proper usage.
  • Monitor tank sensors: Tank sensors are great for a status update on how much capacity your tanks have available at any given time but can sometimes give inaccurate readings if the tanks have accumulated solids along the sensor line. This is why it is very important to maintain clean, healthy holding tanks. In the event of a tank sensor mismatch one can always use a flashlight to visually inspect the black tank level if your toilet dumps right into the tank like ours or external tank monitoring systems to get a more accurate idea of the tank levels.
  • Prevent freezing: If camping in colder temperatures, take measures to prevent tanks from freezing. Use tank heaters, insulate exposed pipes, and consider adding antifreeze to the tanks. Handi-heat magnetic heating blocks are perfect for this application and have allowed us to dry camp in temperatures well below freezing for weeks.
  • Check for leaks: Regularly inspect the tanks, connections, and valves for any signs of leaks. Fix any issues promptly to avoid more significant problems down the line. This spring we are going to be replacing the dump valves on both holding tanks as preventative maintenance. After four and a half years of near-constant use, it’s time.
  • Protect tank vent: Ensure the tank vent is clear of debris and functioning properly. This helps maintain proper airflow and prevents odors from escaping into the RV.
  • Educate all users: Make sure everyone using the RV is aware of proper tank usage and follows the recommended guidelines. We go over toilet and shower basics with each of our overnight guests as to ensure that there is enough capacity for everyone during the camping adventure. Educating users helps prevent misuse that could lead to problems.

By following these tips, you can maintain your RV holding tanks effectively and ensure a more enjoyable camping experience.

A Short Guide to RV Tire Care and Maintenance:

Embarking on a journey in a recreational vehicle [RV] is an exhilarating experience, filled with the promise of adventure and discovery. While you may have meticulously planned your route and prepared your vehicle for the road, one crucial aspect that should never be overlooked is tire care and maintenance. The condition of your RV’s tires plays a pivotal role in ensuring a safe and smooth journey. In this guide, we will delve into the essential practices and tips for maintaining and caring for your RV tires.

  1. Regular Inspections: The foundation of proper tire care lies in regular inspections. Before every trip, take the time to visually inspect each tire for signs of wear, bulges, or cuts. Check the tire pressure using a reliable gauge and ensure it matches the manufacturer’s recommendations. Underinflated or overinflated tires can compromise safety and fuel efficiency. Use a depth gauge to check how much tread is on each of your tires according to the instructions that came with the tool. Having to little tread can impact handling in many driving conditions. Unevenly wearing tread could mean that there is an alignment problem.
  2. Proper Inflation: Maintaining the correct tire pressure is critical for the overall performance of your RV. Underinflated tires can lead to increased rolling resistance, reduced fuel efficiency, and uneven wear. On the other hand, overinflated tires may result in a harsh ride and increased susceptibility to road hazards. Refer to your RV’s manual or the tire manufacturer’s recommendations for the optimal tire pressure.
  3. Rotation Schedule: Tires on an RV do not wear uniformly due to variations in weight distribution. Implementing a regular tire rotation schedule helps ensure even wear and extends the lifespan of your tires. Follow the rotation pattern outlined in your RV’s manual, typically involving rotating the tires from front to back and vice versa.
  4. Alignment Checks: Misaligned wheels can lead to uneven tire wear and compromise handling. Schedule regular alignment checks to ensure that your RV’s wheels are properly aligned. If you notice uneven wear patterns on the tires, it’s a sign that an alignment adjustment may be necessary.
  5. Weight Distribution: RVs come in various sizes and designs, and proper weight distribution is crucial for tire health. Overloading specific tires can lead to excessive strain, resulting in premature wear. Distribute the weight evenly and avoid exceeding the manufacturer’s weight recommendations for your RV.
  6. Sidewall Inspection: Pay close attention to the sidewalls of your RV tires. Look for any cracks, bulges, or signs of damage. The sidewalls provide essential structural support, and any compromise in their integrity can lead to tire failure. If you notice abnormalities, consult with a professional to assess the extent of the damage.
  7. Temperature Considerations: Tire performance is influenced by temperature. Extreme heat can cause tires to overheat, leading to blowouts. In hot weather, monitor tire pressure more frequently and consider reducing your speed to minimize heat buildup. Similarly, in cold weather, ensure that tires are properly inflated as cold temperatures can result in pressure loss.
  8. Speed Considerations: As a tire rolls, it flexes and experiences deformation. At higher speeds, the frequency and intensity of these deformations increase. The repeated flexing generates heat within the tire. Excessive heat can accelerate the aging process of the tire compound, making it more susceptible to wear and reducing its overall lifespan. The higher the speed, the greater the friction between the tire and the road surface. Increased friction results in more abrasion, causing the tread of the tire to wear down more quickly. This is particularly true for soft or high-performance tire compounds designed for enhanced traction, as they are generally more prone to wear. As the tire’s temperature increases the pressure will also increase. This is normal.
  9. Storage Practices: When your RV is not in use, proper storage practices can significantly impact tire longevity. Store your RV in a cool, dry place away from direct sunlight. If possible, lift the RV off the ground using jacks to relieve pressure on the tires. Covering the tires with UV-resistant tire covers can protect them from the damaging effects of the sun.

Conclusion: Prioritizing tire care and maintenance is not only a matter of safety but also a means to enhance the overall performance and longevity of your RV. By incorporating these practices into your routine, you ensure that your RV tires are ready to take on the open road, providing you with a worry-free and enjoyable travel experience. Remember, a well-maintained set of tires is your ticket to smooth travels and countless unforgettable adventures.

2024 Travel Map – Upcoming Plans

We’re currently in Palm Springs, California USA as I type this. We’ve been at this RV Resort since the sixteenth of January and will be staying here until mid-February. Before traveling to Palm Springs, we spent the Holidays in Las Vegas, Nevada USA.

We really don’t know what our full plans for 2024 are as of yet. We know we will be in Caroline, Alberta, Canada this coming summer and that we have three or four trips where air travel will be required: Nashville, Chicago, and Boston. Dates for Nashville and Chicago are set as is middle-of-nowhere PA. Boston is still up in the air.

We need to be in Santa Cruz this fall.

Other than the above, everything is up for discussion.

The Role of Regular Water Filter Maintenance in RV Living

Long-term recreational vehicle (RV) camping offers a unique and adventurous lifestyle, allowing enthusiasts to explore diverse landscapes and create lasting memories on the road. Amidst the excitement of the open road and picturesque campsites, it’s easy to overlook essential aspects of RV living, such as water filter maintenance and replacement. In this blog post, we delve into the importance of changing water filters during long-term RV camping, exploring the reasons, benefits, and practical tips for ensuring a clean and safe water supply throughout your journey.

I. Understanding the RV Water System:

Before delving into the significance of water filter maintenance, it’s crucial to understand the intricacies of the RV water system. Most RVs come equipped with a freshwater tank, a water pump, and various water lines that supply water to faucets, showers, and appliances. Additionally, RVs are usually equipped with a metal screen water filter designed to remove small particulate from the incoming water supply. It is up to campers to add additional filtration to remove other impurities and ensure the water is safe for consumption. Some of the higher end or larger RVs include these filters or even reverse osmosis systems.

II. The Importance of Water Filtration:

A. Ensuring Water Purity:

Contaminant Removal: The first line of defense against particulate contaminant is typically a mesh screen at the water inlet as well as a second mesh screen before the water pump. These basic filters keep small rocks, bits of plastic, and other chunks that may be in the local water supply from causing damage to the water system. 

Unless the RV is equipped with additional filtration, campers can, and should, added in line water filters designed to eliminate contaminants such as small sediment, chlorine, bacteria, and other impurities that may be present in different water sources.

Health and Safety: Consuming contaminated water can lead to various health issues, making water filtration a crucial aspect of maintaining well-being during long-term RV camping.

B. Protecting RV Plumbing:

Extending Appliance Lifespan: Sediment and impurities in water can cause damage to RV plumbing and appliances over time including the water pump, faucets, dish washer (if equipped), and washing machine (if equipped). Water filters act as a protective barrier, preventing these issues and prolonging the lifespan of your RV’s water-related components.

Reducing Maintenance Costs: Regular water filtration reduces the need for costly repairs and maintenance, saving RV owners both time and money.

III. Signs It’s Time to Change Your Water Filter:

A. Decreased Water Flow:

Understanding Flow Reduction: A decrease in water flow can indicate a clogged or outdated filter that needs replacement.

Importance of Adequate Water Pressure: Proper water pressure is essential for various RV activities, including showers, dishwashing, and toilet flushing.

B. Unpleasant Odors or Tastes:

Identifying Water Quality Issues: Strange odors or tastes in your water signal potential contamination or filter deterioration.

Maintaining Enjoyable RV Living: Regular filter changes contribute to a pleasant overall RV living experience by ensuring clean and refreshing water.

IV. Practical Tips for Water Filter Maintenance:

A. Regular Inspection:

Visual Checks: Perform visual inspections of your internal water filter screens for signs of wear, clogs, or damage.

Schedule Routine Replacements: Establish a schedule for changing water filters based on manufacturer recommendations and usage frequency. Metal screens leading up to the water pump should be cleaned every three months of constant usage or after each camping trip.

B. Choosing the Right Water Filter:

Understanding Filtration Levels: Select a water filter that meets the specific filtration needs based on the water sources you encounter. 

0.5-Micron Filters: Ultrafine filters can remove most bacteria, cysts, protozoa, and other contaminants down to 0.2 microns in size or larger such as Giardia lamblia and Cryptosporidium parvum.

1-Micron Filters: 1-micron filters are capable of removing most bacteria and parasites including E coli, Salmonella typhimurium, Shigella dysenteriae as well as some viruses like Hepatitis A virus (HAV). This provides a more open pore structure allowing for higher flow rates while still providing adequate protection against harmful contaminants present in many public drinking sources today.

5-Micron Filters: 5-micron filters are best suited for applications where sediment removal is required without sacrificing flow rate.

10-Micron Filters: 10-micron filters are best suited for removing pollen, beach sand, and other larger particulate without a significant reduction in water pressure.

Compatibility with RV Systems: Ensure that the chosen water filter is compatible with your RV’s water system.

C. Proper Installation Techniques:

Following Manufacturer Guidelines: Adhere to the installation instructions provided by the water filter manufacturer.

Seeking Professional Assistance: If unsure, consult with RV maintenance professionals for guidance on proper installation.

In conclusion, the importance of changing water filters during long-term RV camping cannot be overstated. From ensuring water purity and safeguarding RV plumbing to enhancing the overall camping experience, regular filter maintenance is a fundamental aspect of responsible and enjoyable RV living. By prioritizing water filtration, RV enthusiasts can embark on their journeys with confidence, knowing that a clean and safe water supply awaits them at every destination. So, as you hit the open road in your RV, don’t forget to make water filter maintenance a top priority for a hassle-free and unforgettable camping experience.

Replacing Rivets, It’s A Part Of Life On The Road

Airstream says there are over four thousand rivets in each of their coaches, and I believe it. The exterior shell is held together with buck rivets, requiring a team of two to install. Each buck rivet is placed in the hole, then as one operator holds the rivet in place with a bucking bar, the other operates the rivet gun, smashing the rivet into place creating a very strong mechanical bond between the two pieces of aluminum. This is much easier, and faster, than trying to wield aluminum. Buck rivets stand up well to vibration over time and have been Airstream’s method of choice for the aluminum outer shells since the beginning.

This article is not about those buck rivets. It’s about the rivets used inside the coach, the open-end blind rivets, also known as POP® rivets. While very strong these rivets do eventually weaken due to the vibrational stress of towing the coach over harsh roads. Luckily the process for replacing open-end blind rivets is simple and only requires two tools and some replacement rivets. The tools being a drill with a 1/8th inch metal bit and a pop rivet gun. Replacement rivets can be purchased from Airstream or, if you know what you’re looking for, from any hardware store.

Cordless Drill and ⅛” Bit

Arrow Branded Pop Rivet Gun and Rivets

During our epic road trip from our home in Winnemucca down through Albuquerque to Austin, New Orleans, Orlando, Saint Augustine, Delaware, and at the time of this writing, Nashville, we had to replace five open end blind rivets.

Two in the ceiling, two along the galley seam, and one by the stove.

Replacing the rivets is easy:

  • Simply and slowly drill out the holes with the ⅛” bit until the broken rivet falls back into the wall or onto the floor.
  • Clean the area with a rag.
  • Install the new rivets with the pop rivet gun.
  • Clean the area again, vacuum up any metal shavings from the drilling.

At the end of the day we’ve done this so many times that it’s second nature. This is the first time I’ve written it up.

2023 Travel Plans Thus Far

It’s time to look at the big board!

2023 Travel Map

After the turn of the year our first stop will be Las Vegas for a bachelor party. Our good friend is getting married and I’m part of the wedding party.

Then we’re back home for a few days before heading west to Reno for building materials as well as medical appointments. Living in a small town means that for certain types of medical care, we need to travel to one of the larger cities around us. It’s not a problem as living in a small town also means access to hardware stores and building materials is limited as well. So the second week of January we’re off to Reno for doctors visits and additional building materials.

After Reno we’re heading south to Las Vegas, Nevada to visit friends, then across to Tucson, Arizona to take Interstate 10 all the way to Orlando, Florida for the afore mentioned wedding. Along the way we plan on stopping in Austin, Texas for a few days to visit co-workers, New Orleans, Louisiana, because we can, and then to the wedding.

Once the bridge and groom have left for their honeymoon, we’re going to point the compass northwest and head to Saint Louis, Missouri to visit friends and slowly make our way across the planes states homeward bound.

Back home we will deep clean the Airstream, correct any problems that need correcting, turn on the sprinkler system for the trees, and get ready for our trip to Goldfield for a camping event, more than likely via Seattle, Washington, for fun.

Then we’re off to Canada for camp before heading to Austin for work.

Anything after August next year is nebulous except for Chicago in December.

Land Project: Scope Creep…

When we purchased the land our plan was to have a place to park the Airstream while traveling, but then things got out of hand…

We knew at the very least we would need electrical service installed, a well for drinking water, and someplace to stay that wasn’t the Airstream which we could attache a septic system.

Electrical Service:

Electrical services started with trenching and laying the underground conduit for the wires to be run, then setting the meter box and running the circuits to the garage. Our utility wouldn’t activate the power until we had passed several inspections including depth and quality of the trench, the conduit itself, and the meter box and circuits. All of this took about four weeks.

We saved a lot of money on the project by doing all the work ourselves.

Cottage Construction:

As the garage and backhoe were looking kinda lonely, we ordered up a cottage that we would eventually build out as an office and place to clean up and sleep.

Over the next year and a quarter we will install electrical, insulation, walls, ceilings, and floors. I’ll make a longer post about that project sometime in the future.

Well:

The final thing we did during the six months covered by this post was have a water well installed.

Like I’ve said, it’s been a busy couple of years…

Where have we been the last two years?

Busy…We have Been Busy!

In August of 2020 we purchased about ten acres outside of Winnemucca, Nevada in upper Pershing County Nevada. It certainly didn’t look like much, but it was ours. The goal was to clear some land and have a place to park the Airstream that didn’t cost over $200.00 a month. Our plans were to bring water, power, and a septic system to the land.

Backhoe Purchase:

In order to clear the land, build roads, and dig the ditches and trenches necessary to achieve our goals we needed to acquire a backhoe loader. This gem was found in Las Vegas and transported up over Thanksgiving 2020.

Land Clearing:

Over the next eight weeks we lived in the Airstream, traveling for work and pleasure, but spending every free day clearing the land and laying our internal roads. Lots of diesel and grease were used. In January of 2021 we made an epic road trip to bring our Ford Focus Electric to the land – details here.

Garage:

In February of 2021 we had a garage delivered.

The next big projects were bringing electric to the land via Mobile Solar Generator (story here) and digging up for NV Energy to lay power lines.

More on that in our next post. Not bad four our first six months…